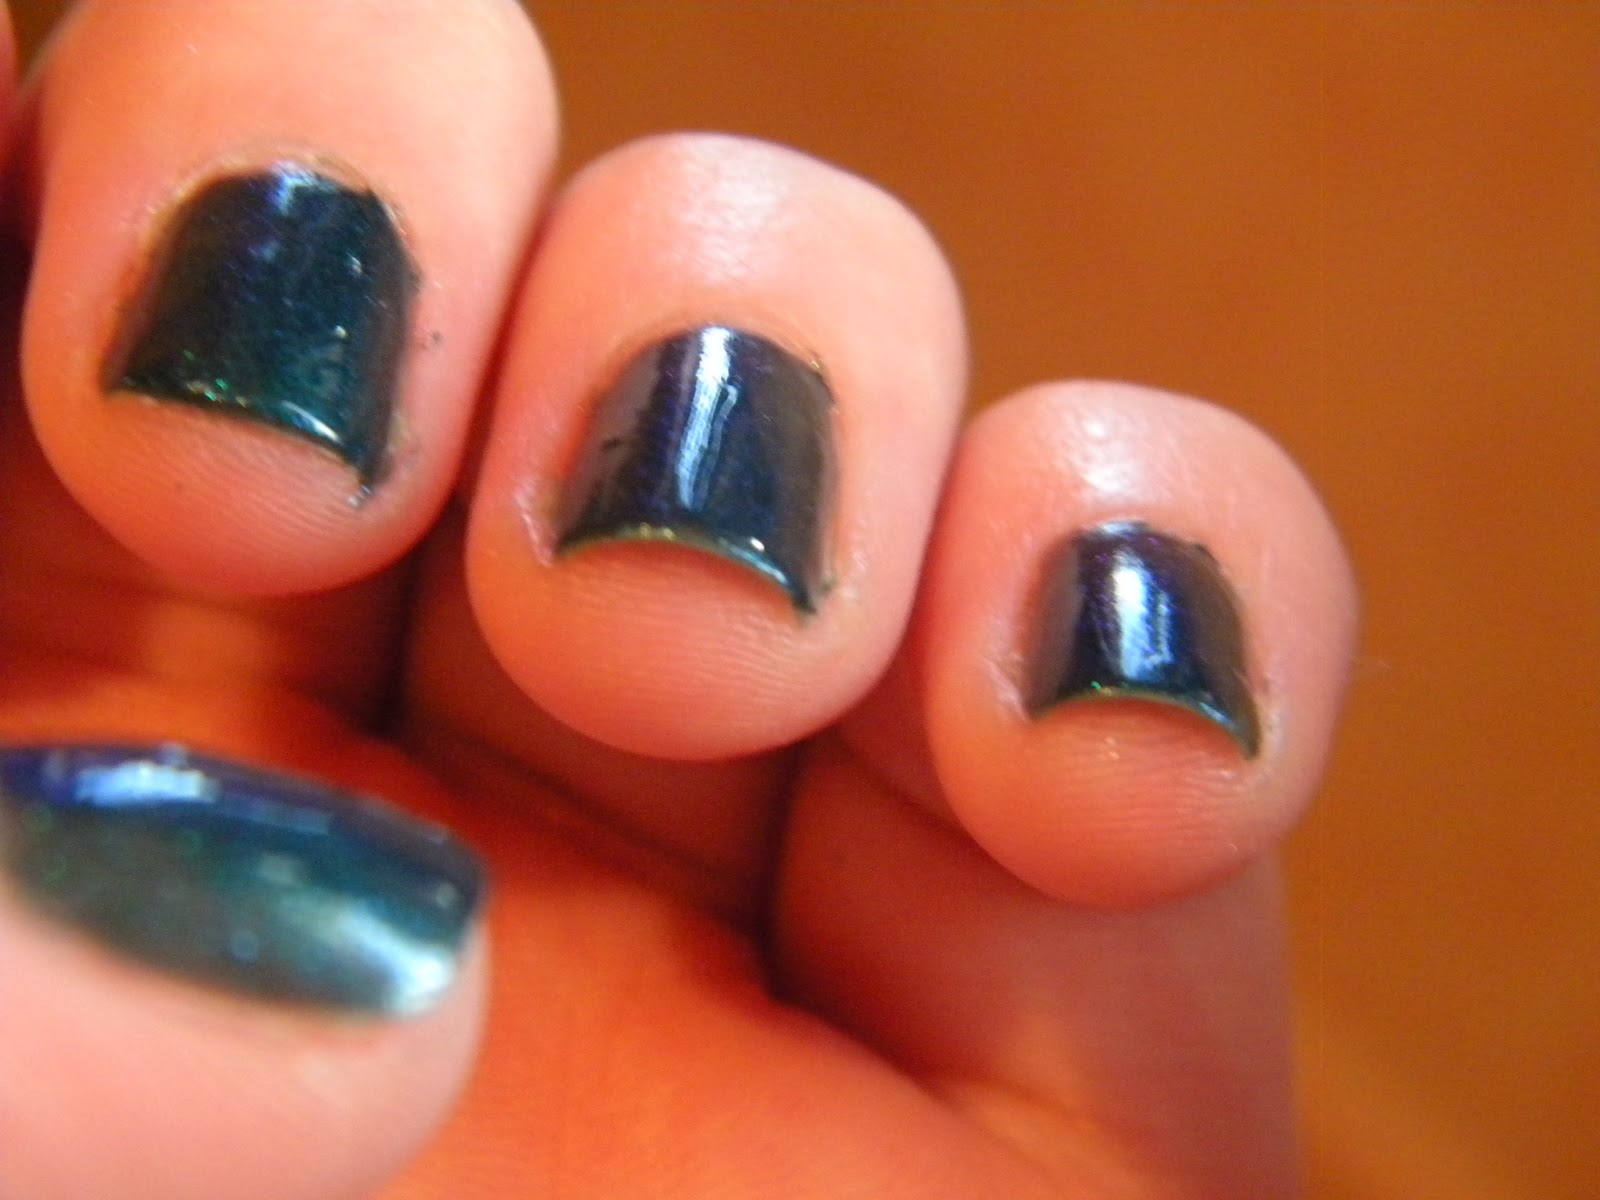
These are the polishes I use. You'll need a base coat, a top coat, a black, some fine glitter, white, pink, yellow and dark blue. And of course, a make up sponge.
Before you start painting your nails, rip the sponge up into pieces.
Put on your base coat then 2 coats of your black polish.
Put on a coat of glitter.
Take your white polish and using the brush, put some on a piece of your make up sponge. Begin sponging on your nebula.
You don't have to make it perfect, just make sure you don't cover all of the black. The less you think about it, the better it turns out.
Add some pink to a new sponge the same way you did the white. Make sure you don't have it dripping off - have just enough so it's not super bold. Concentrate the pink closer to the center of your nebula.
Do the same thing with the yellow.
Do the same process with the blue, only this time keeping it towards the outer portion of your nebula so it somewhat blends into the black.
Using a white tip brush or a toothpick dipped in white, add small stars around your nebula into the black parts of your nail. Put some bigger stars within your nebula, but not too many!
The brush I use is bought from Sally's.
Add some more glitter in the black spots of your nails. You can put it all over but I've found out from doing this more than once that it starts looking less real if there's glitter over your nebula.
Add your top coat and then you're done!
Doing my nails like this takes me about 15 minutes. As I said, the less you think about it, the better it turns out. Look at pictures of space for inspiration and try it your own way! Add some greens and purples! No matter what, they always turn out looking amazing.
I hope this helped!!
If you have any questions, don't be afraid to comment!